Create a Personal View
Views can be used to see the items in a list that are most important to you or that best fit a purpose. You can create multiple views for the same list. When a view is created, the contents of the actual list do not change. However, the items are organised or filtered so you can find the most important or interesting information, depending on your needs. To create a new view, follow these steps:
|

|
Navigate to a custom list
|
|

|
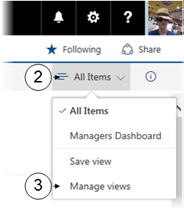
Click on the Views dropdown
|
|

|
Click on Manage views
|
|

|
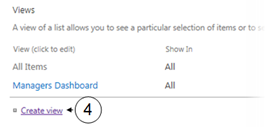
Click on Create View
|
|

|
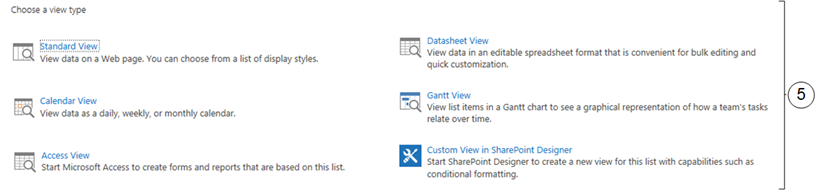
Choose a view type
|
Standard View
|
Displays list items like a traditional list on a Web page. Standard view is the default for most types of lists and you can customise it in several different ways.
|
|
Datasheet View
|
This is Quick Edit and provides data in a format that you can edit on mass such as a table in a database or spreadsheet. This view can be helpful if you need to perform large editing tasks or customisation, or export your data to a spreadsheet or database program.
|
|
Calendar View
|
Displays your calendar items in a visual format that is similar to a desk or wall calendar. You can apply daily, weekly, or monthly views in this format. For example, you can create a calendar to track your team's deadlines for a project or holidays for your organisation.
|
|
Gantt View
|
Displays the list items in a Gantt chart to show a graphical representation of how a team's tasks relate over time.
|
|
Access View
|
Use Microsoft Access to create forms and reports that are based on the entries in the list. This is a good option if you are familiar with Access.
|
|
Custom View in SharePoint Designer
|
Using SP Designer, you can add all the usual customization features, but in addition you can, for example, modify the layout of the list, apply conditional formatting, connect the list view to other lists.
|
|
|

|
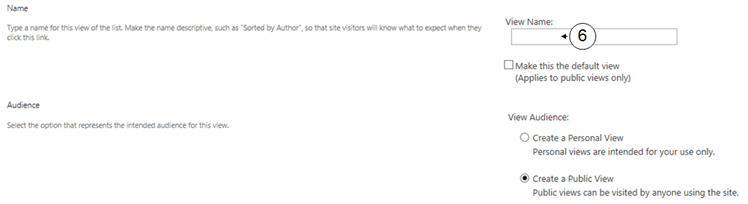
Enter a name for your view
|
|

|
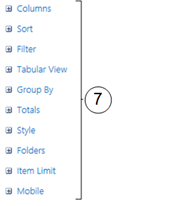
Pick the desired options for your view
|
Columns
|
Check the boxes next to the columns that you want to appear in your view. Keep in mind that when many columns are chosen, you may have to scroll from left to right to see all of your selections.
|
|
Sort
|
Allows you to specify if you want items displayed with a pre-set sort configured. You choose a column and whether to sort ascending or descending.
|
|
Filter
|
Allows you to specify a custom filter where items are only displayed based on a column and a value of your choice such as is equal to, is greater than, begins with, contains, etc.
|
|
Tabular View
|
Allows users to select multiple list items to perform bulk operations such as check in and delete.
|
|
Group By
|
Displays data grouped by a specified column.
|
|
Totals
|
Column totals can be calculated and displayed.
|
|
Style
|
Formats the view based on a set of styles.
|
|
Folders
|
If the list contains folders, you can indicate whether or not to display the folders. This is commonly used in libraries that contain folders since you can hide the folders so all the content is displayed in one view.
|
|
Item Limit
|
Choose how many items to display before the next item is presented so users do not have to scroll to multiple pages to see all the content.
|
|
Mobile
|
Select the desired options in Mobile if you plan to allow users to view the list on a mobile device.
|
|
|

|
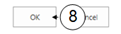
Click on OK to create your new view
|